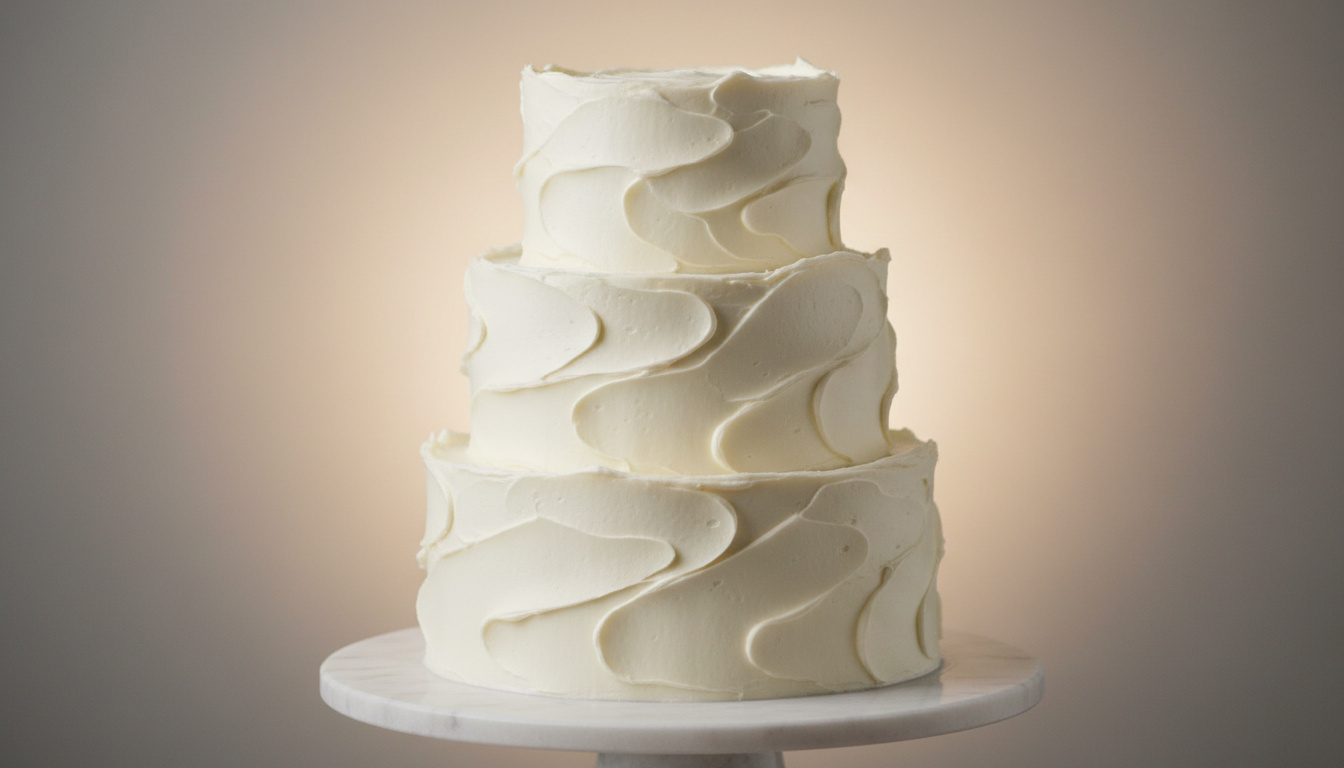
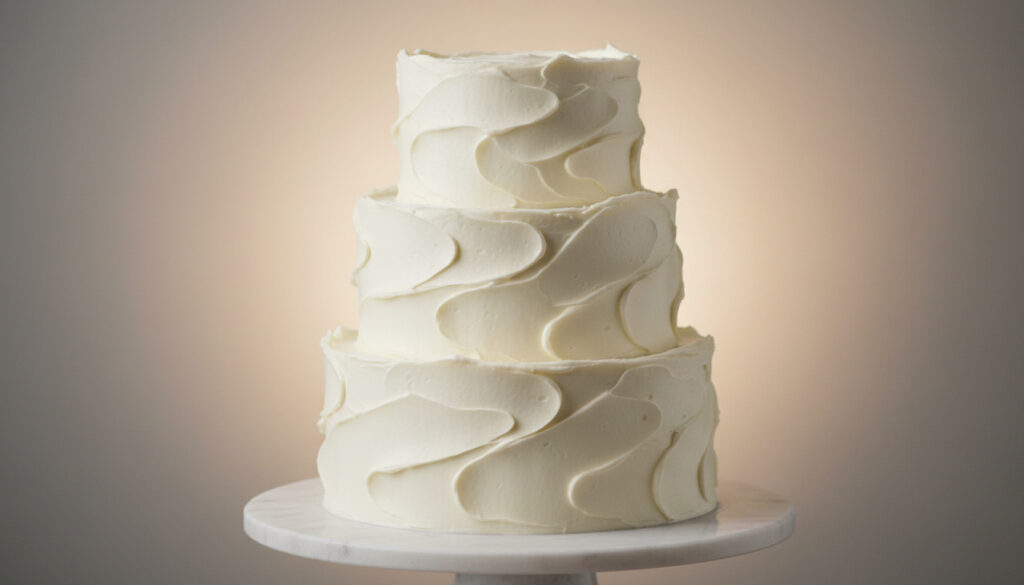
Achieving a flawlessly frosted cake separates amateur baking from professional presentation. Whether preparing a birthday centerpiece or practicing layer cake construction, the techniques for smooth buttercream application follow specific mechanical principles involving temperature control, tool angles, and sequential layering.
The process intimidates many home bakers. Crumbs invade pristine white frosting. Uneven surfaces refuse to smooth. Edges collapse under the spatula. Yet pastry professionals insist that methodical preparation, rather than artistic talent, produces consistent results.
This guide examines evidence-based techniques from professional pastry kitchens, detailing the specific tools, chill times, and pressure applications required for smooth buttercream finishes.
How Do You Frost a Cake Smoothly?
Smooth frosting requires chilled cake layers, proper tool geometry, and sequential coat application. The process relies on hardening buttercream between stages to create a solid working surface.
Essential Tools
- Rotating turntable
- Offset spatula (metal)
- Bench scraper
- Small offset spatula
Prep Steps
- Level cooled layers
- Chill briefly to firm
- Stack with center-out spreading
- Apply thin crumb coat
Core Techniques
- 45-degree scraping
- 90-degree final smoothing
- Parallel tool holding
- Separate bowl for scrapings
Pro Tips
- Chill 30+ minutes between coats
- Use ample buttercream quantity
- Build thin layers gradually
- Rotate turntable constantly
Key Insights for Perfect Results
- Temperature controls everything. Cold firms buttercream butter content, allowing you to smooth it like clay. Warm cake creates smears and crumbs.
- Tool angle determines edge quality. Holding the bench scraper at 45 degrees during crumb coat versus 90 degrees during final coat creates distinct mechanical advantages for smoothing.
- Quantity prevents tearing. Insufficient buttercream causes spatulas to dig into underlying layers, dragging crumbs and creating gouges.
- Rotation enables consistency. The turntable allows continuous motion without repositioning hands awkwardly around the cake.
- Layer thickness matters. Crumb coats should not exceed 1/8 inch; final coats require approximately ¼ inch for coverage without bulk.
- Chill times are non-negotiable. Minimum 30 minutes sets buttercream sufficiently for subsequent coating.
- Homemade and store-bought behave similarly. Both trap crumbs; both require thinning if too stiff.
Critical Specifications
| Component | Specification | Beginner Critical Rule |
|---|---|---|
| Turntable | Rotating cake stand | Rotate constantly while scraping |
| Offset Spatula | Metal, angled blade | Hold parallel to surface |
| Bench Scraper | Flat metal blade | 45° for crumb coat, 90° for final |
| Crumb Coat Thickness | Maximum 1/8 inch | Thin layer seals crumbs |
| Chill Duration | 30+ minutes | Firms buttercream completely |
| Final Coat Thickness | Approximately ¼ inch | Bottom-up application |
| Filling Quantity | 1 cup per middle layer | Prevents bulging sides |
| Scraping Bowl | Separate from main frosting | Avoids crumb contamination |
What Tools Do You Need to Frost a Cake?
Professional results require specific mechanical implements rather than kitchen substitutes. The geometry of each tool serves distinct functions in the frosting process.
The Foundation Equipment
A turntable serves as the primary workstation. This rotating stand allows continuous motion while maintaining consistent tool angles against the cake sides. Without rotation, achieving uniform pressure around the circumference becomes nearly impossible.
The angled or offset spatula—preferably metal—provides the primary spreading mechanism. Its bent neck keeps knuckles clear of frosting while the blade slides parallel to cake surfaces. According to Sugar and Sparrow, this tool prevents tearing when spreading from the center outward.
Scraping and Smoothing Implements
The bench scraper or icing smoother creates flat sides when held vertically against the cake while rotating. Professional techniques specify holding this tool at 45 degrees during initial crumb coat scraping, then shifting to 90 degrees for the final coat. Curly Girl Kitchen emphasizes maintaining contact pressure against the cake board rather than the frosting alone.
A small offset spatula addresses detailed edge work. This precision tool drags overhanging top frosting inward to create sharp corners, completing the geometric finish.
A bowl scraper assists with trimming excess frosting from the main bowl. Some practitioners use waxed paper placed against frosting to smooth with hands, though metal tools provide superior control for beginners.
How to Crumb Coat and Frost a Layer Cake?
Layer cake construction follows strict sequencing. Deviation from the order—particularly skipping the crumb coat or insufficient chilling—produces visible crumbs in final surfaces and unstable structures.
Preparing the Structural Base
Begin with completely cooled cake layers. Trim domed tops to create flat surfaces; uneven layers cause bulging sides regardless of frosting technique. King Arthur Baking recommends brief chilling to firm the cake crumb before stacking.
Stack layers with approximately one cup of buttercream filling per middle layer. Spread filling from the center outward without allowing the spatula to touch the cake directly—contact tears crumbs loose. Center each layer precisely to prevent shifting.
The Crumb Coat Application
Apply a thin layer of buttercream—maximum 1/8 inch thick—over the entire cake exterior. This seals loose crumbs. Spread excess over edges intentionally; this overhang assists with top smoothing later. Demonstrations show that scraping excess frosting into a separate bowl prevents contaminating the main supply with crumbs.
Hold the bench scraper at 45 degrees to the sides while rotating. The cake surface may show through; this indicates sufficient thinness. Smooth the top by dragging the overhanging frosting inward with a small spatula.
Refrigerate the crumb-coated cake for a minimum of 30 minutes. This hardens the buttercream, stabilizing layers and preventing shifting during final coating. Attempting final frosting on unchilled cake results in smudged surfaces and collapsed edges.
Applying the Final Coat
On the thoroughly chilled cake, add buttercream scoops to the top. Spread flat while holding the spatula parallel to the surface, rotating constantly. Apply side frosting from bottom to top in a ¼ inch layer.
Scrape sides tightly with the smoother held at 90 degrees—perpendicular to the cake board. For exceptionally tall cakes, brief additional chilling between side and top frosting maintains stability. Video analysis confirms that level stacking during this stage prevents structural shifts.
Easiest Ways to Frost a Cake for Beginners
Novices achieve acceptable results through simplified approaches that reduce variables. The fundamental difference between beginner and advanced methods lies in frosting consistency and tool reliance.
Starting with Commercial Products
Store-bought buttercream functions identically to homemade for smooth frosting purposes. Both trap crumbs equally; both require similar temperature management. However, commercial frosting often arrives stiffer than optimal.
Thin stiff store-bought icing with small amounts of milk or piping gel until it spreads without tearing. Technique demonstrations indicate that chilled commercial frosting firms similarly to homemade versions, allowing identical smoothing mechanics.
The Beginner’s Method
New practitioners should prioritize How to Frost a Cake Smoothly techniques using classic buttercream—butter, powdered sugar, vanilla, and milk—rather than advanced ganache or fondant. This stable emulsion forgives minor temperature fluctuations and holds edges without piping bags initially.
Avoid over-chilling between coats. Extended refrigeration creates condensation that wrinkles the frosting surface upon warming. The 30-minute minimum provides sufficient firmness without risking moisture accumulation.
Timeline: From Baked Cake to Finished Masterpiece
The complete frosting process spans several hours due to mandatory chilling periods. Rushing these intervals produces substandard results.
- Cool completely: Allow cakes to reach room temperature after baking. Warm cake crumbles under pressure.
- Level layers: Trim domed tops flat using a serrated knife or leveler.
- Chill briefly: Firm layers in refrigerator for easier handling.
- Stack with filling: Apply 1 cup buttercream between layers, centering each carefully.
- Apply crumb coat: Spread 1/8 inch layer over entire surface; scrape at 45 degrees.
- Chill 30+ minutes: Refrigerate to harden buttercream completely.
- Apply final coat: Spread ¼ inch layer; scrape at 90 degrees.
- Final chill (optional): Brief refrigeration sets finish for transport.
Established Techniques vs. Contextual Variables
| Established Facts | Situational Variables |
|---|---|
| Buttercream requires minimum 30-minute chilling between coats | Exact timing may vary slightly based on refrigerator temperature and cake size |
| 45-degree scraping angle for crumb coat; 90-degree for final | Scraper height must match cake height for single-pass smoothing |
| Metal offset spatulas provide superior control to rubber variants | Specific brand flexibility affects hand fatigue during large cakes |
| 1 cup filling per layer prevents bulging | Cake density affects how much filling compresses without shifting |
| Store-bought frosting requires thinning for spreadability | Amount of milk/piping gel depends on specific brand consistency |
| Thin layers build smoother than single thick applications | Number of layers depends on desired final thickness and decoration plans |
Why Smooth Frosting Matters
The visual impact of a cake derives largely from surface regularity. Smooth frosting reflects light uniformly, creating the impression of professional craftsmanship regardless of flavor complexity. This optical consistency signals structural integrity and ingredient quality to observers.
Historically, smooth buttercream finishes emerged as domestic refrigeration became widespread. The technique relies entirely on chilling capability; prior to reliable cooling, softer frostings dominated home baking. Modern methods thus represent a technological convergence of dairy stability and mechanical tools.
Attribution and Methodology
Techniques presented derive from professional pastry testing and instructional documentation. How to Frost a Cake provides foundational motion practice recommendations, while specialized sources confirm specific angular measurements for tool application.
Video documentation from multiple baking channels corroborates that cooler temperatures—not tool expense—determine outcome quality. Sources consistently emphasize that a $10 bench scraper operated correctly outperforms expensive equipment used on warm cake.
Summary
Smooth cake frosting requires methodical chilling, specific tool angles, and sequential layer application. Success depends on applying thin crumb coats, waiting 30 minutes between stages, and maintaining 45-degree then 90-degree scraping angles. Beginners should start with stable buttercream recipes and basic metal spatulas rather than advanced equipment. For detailed visual guidance, reference How to Frost a Cake Smoothly.
Frequently Asked Questions
How do you make buttercream frosting for a cake?
Classic buttercream combines butter, powdered sugar, vanilla, and milk. Beat butter until fluffy, gradually add powdered sugar, then thin with milk to spreading consistency. Stiff consistency holds smooth edges better than soft variations.
How long to chill cake before frosting?
Chill the crumb coat for at least 30 minutes to firm the buttercream. Brief chilling between final coats is optional but recommended for tall cakes. Avoid over-chilling to prevent condensation wrinkles.
How to frost a cake with piping bags?
Piping bags apply decorative borders or patterns after achieving a smooth base coat. Fill bags with buttercream, pipe designs onto the chilled smooth surface, and chill again briefly to set decorations.
Why does my frosting show crumbs?
Crumb contamination results from skipping the crumb coat, insufficient chilling between layers, or using too little buttercream during final application. Always maintain a separate bowl for scrapings.
Can I frost a frozen cake?
Completely frozen cake causes condensation that prevents buttercream adhesion. Thaw until cake reaches cool room temperature but remains slightly chilled for structural stability.
Why are my cake edges not sharp?
Rounded edges indicate insufficient pressure during final scraping or warm buttercream. Ensure the cake is thoroughly chilled and hold the scraper at exactly 90 degrees while rotating slowly.
Related stories



Jessica Morin is Provincial Affairs Editor at Toronto Post, covering Ontario policy, provincial politics and regional economics.